` GüLşah
Bayan Üye
Final Image Preview

Create a new document (Ctrl+N) in Adobe Photoshop CS5 with the size 1280px by 1024px (RGB color mode) at a resolution of 72 pixels/inch. Use the Paint Bucket Tool (G) to fill with black color the new background layer.

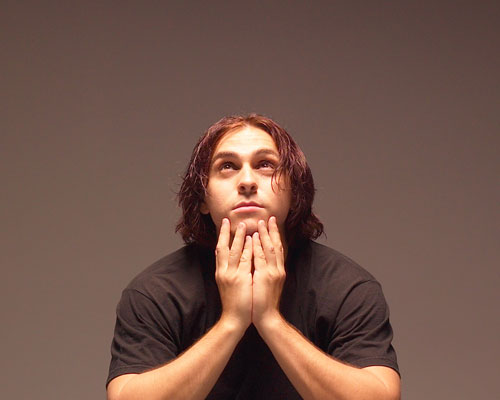
Find a stock photo with a man represented on it, I used this photo from deviantart. I would like to thank the author of this photo.
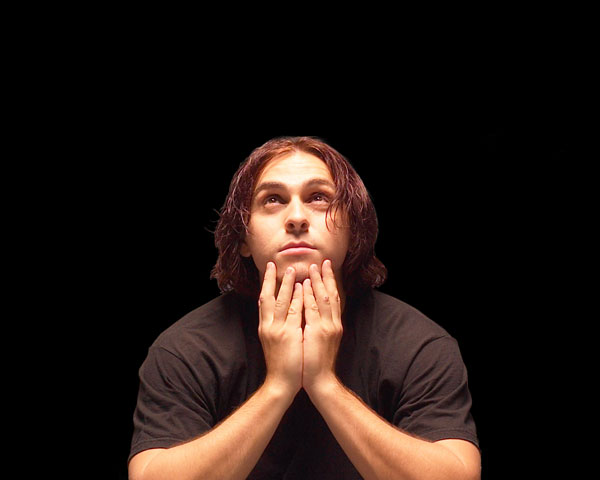
Remove the background using your favorite tools like Pen Tool (P), Magic Wand Tool (W), Magnetic Lasso (L) or even a simple Filter>Extract and insert it on a new layer in our main document.
Click Create new fill or adjustment layer from bottom part of the Layers panel and select Hue/Saturation.
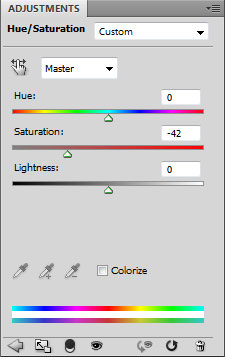
Drag the slider to the left to decrease the Saturation of the color range.

On a new layer select the Soft Round brush; set the Opacity to 15% in the Options bar.

Use this brush to paint the next zones around the man with #AC007A and #2E0077 colors.

Set the Blending mode to Linear Dodge for this layer.

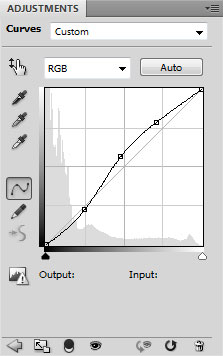
Select once again Create new fill or adjustment layer from bottom part of the Layers panel and click to Curves to adjust the curve shape as shown to make a little color corrections.
We’ve got the next result:

Create a new layer and select the Paint Bucket Tool (G) to fill the layer with black color.

Insert the mask on the layer by choosing Add layer mask on the bottom part of the Layers panel. Select also the Hard Mechanical brush of black color.
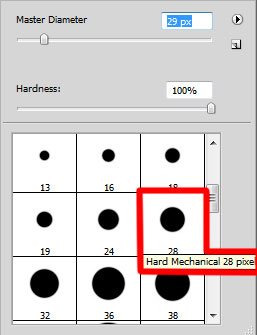
Use this brush to hide the background around the man, shown below:
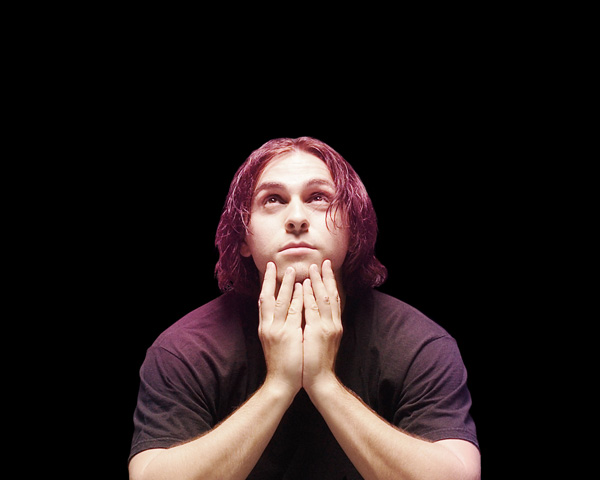
Create a new layer and select again the Soft Round brush of the color #000345 (set Opacity to 20% in the Options bar).
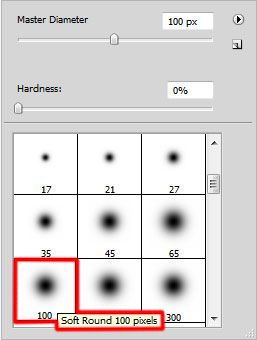
Use this brush to paint around the man.
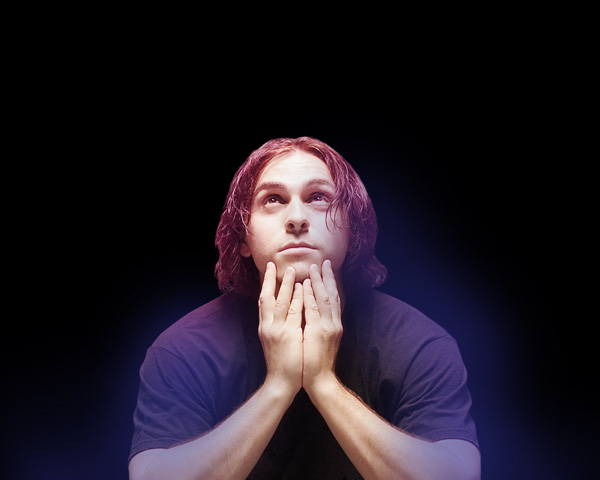
Let’s create a clipping mask to make the content of the recent layer only visible within the content of the layer containing the black color. Hold down Alt (Windows) or Option (Mac OS) and click between layers in the Layers panel.

We’ve got the next result:

On the next new layer we’ll choose again the Soft Round brush of the color #FF00C7 (Opacity 60%).
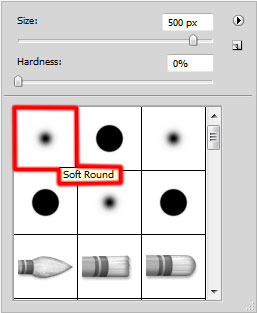
Use this brush to paint on the man’s face as shown.
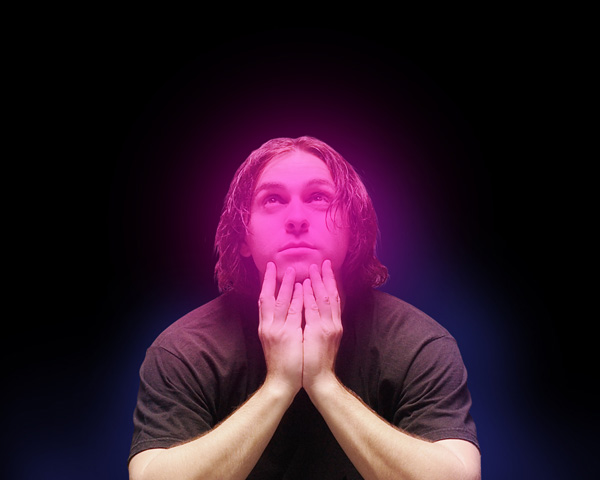
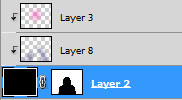
Let’s create another clipping mask. Hold down Alt (Windows) or Option (Mac OS) and click between layers in the Layers panel.
We’ve got the next result:

Create a new layer and choose the Soft Round brush mentioned on the previous step, with the Size on 800px to paint the man’s face with the color #F577C2 (Opacity 20%).
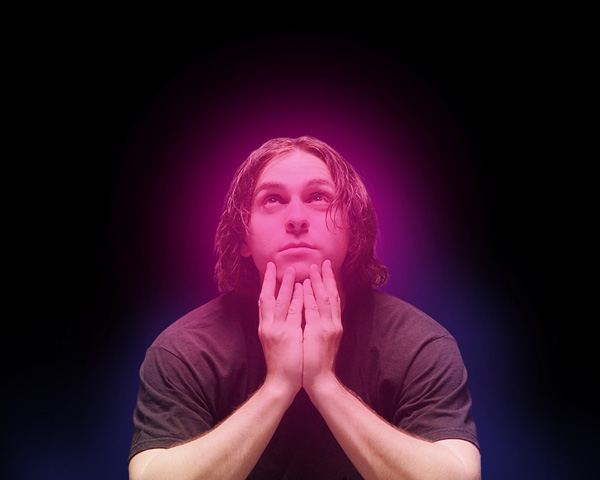
Create a clipping mask again. Hold down Alt (Windows) or Option (Mac OS) and click between layers in the Layers panel.
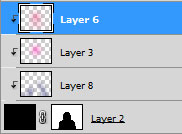
We’ve got the next result:

Create a new layer again and use this time the Paint Bucket Tool (G) to fill the new layer with black color.

Select also for the made layer Filter>Noise>Add Noise
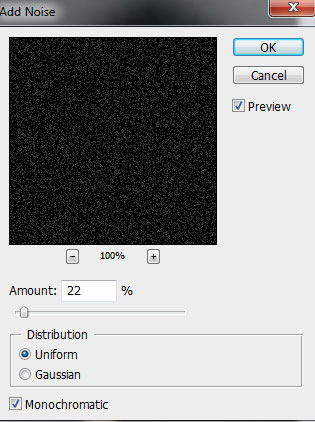
We’ve got the next noise on the layer.

.. and also for the same layer apply Filter>Filter Gallery>Texture>Craquelure
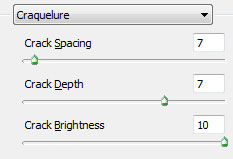
We’ve got the next result:

Press CTRL+M (Curves) to adjust the curve shape as shown to make a little color corrections.
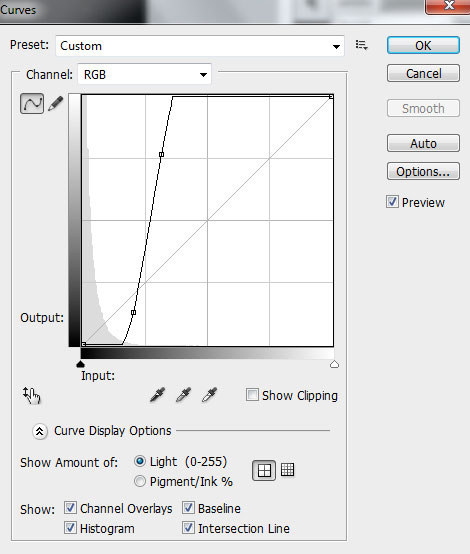
We’ve got the next result:
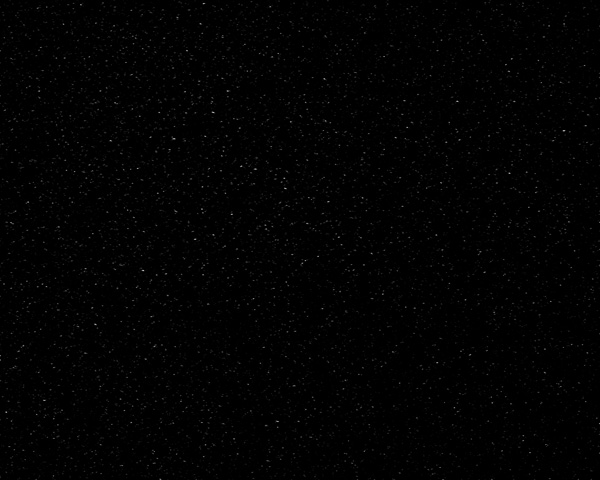
Set the Blending mode to Linear Dodge for this layer.

Let’s create a clipping mask to make the content of the layer containing the noise only visible within the layer containing the black background around man. Hold down Alt (Windows) or Option (Mac OS) and click between layers in the Layers panel.
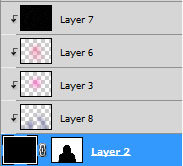
We’ve got the next result:

Make a copy of the last made layer and use the Free Transform (Ctrl+T) command to put the copy’s layer the same way demonstrated below:

Create a new layer and select the Soft Round brush of black color (Opacity 20%).

Use this brush to make darker the shown zones on the next picture.
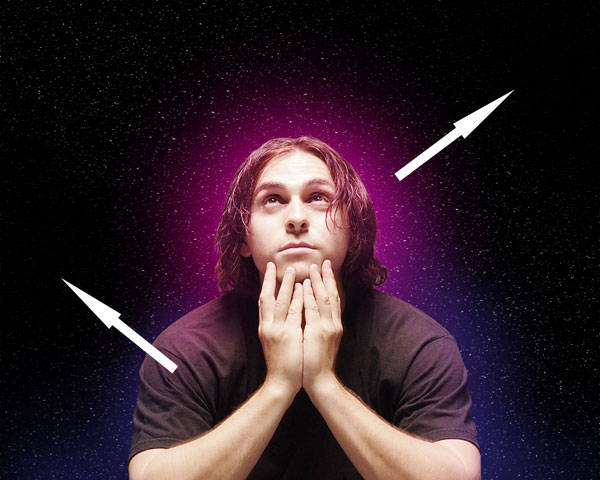
Create a new document (Ctrl+N) in Adobe Photoshop CS5 with the size 1280px by 1200px (RGB color mode) at a resolution of 72 pixels/inch. Take the Gradient Tool (G) and open the Gradient Editor from Options Bar. Choose the Black, White gradient and apply the gradient from the top to down.

Apply now on this layer Filter>Distort>Wave.
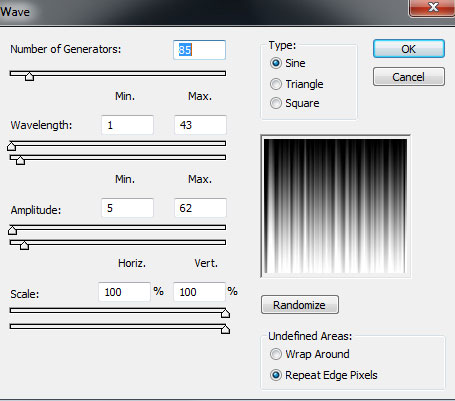
We’ve got the next result:
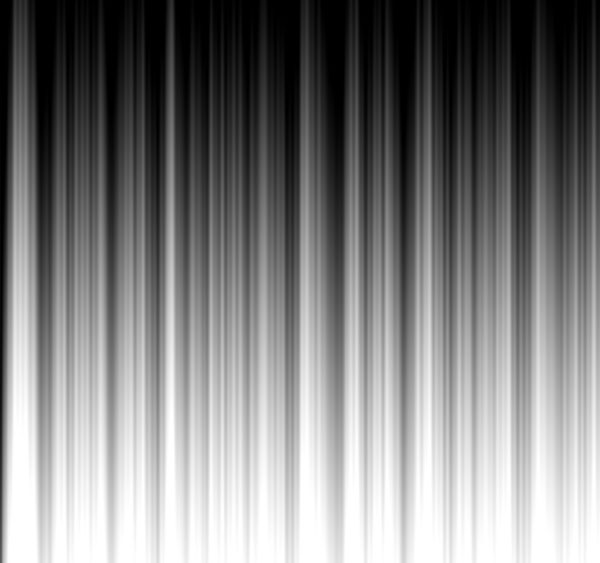
Use Free Transform (Ctrl+T) command to scale by dragging the got waves to have the same result as on the next picture:
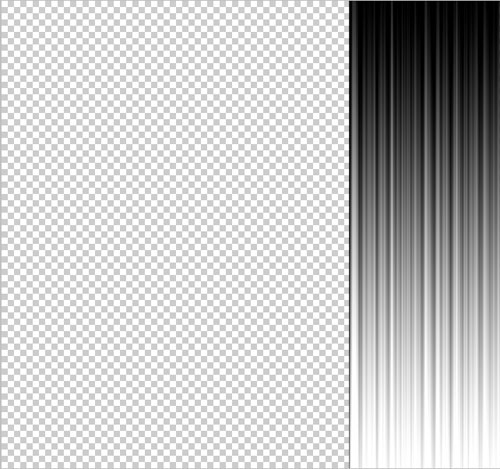
Make a copy of the made layer and choose the Free Transform (Ctrl+T) command to flip vertical this layer. Insert the mask on the copy’s layer by selecting the Add layer mask on the bottom part of the Layers panel.

Select the Soft Round brush of black color.

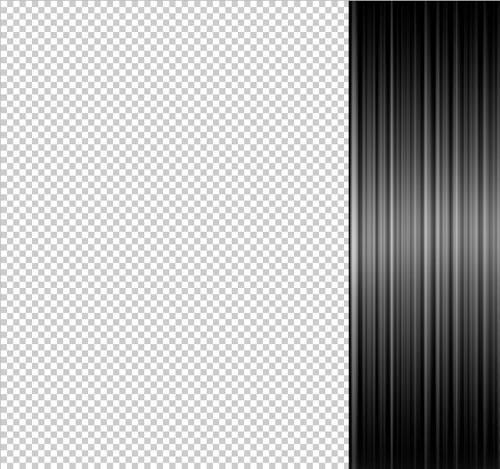
Use this brush to paint in the mask the bottom part of the copy’s layer. Put together both layers by selecting them firstly in the Layers panel and then press CTRL+E to Merge Down.
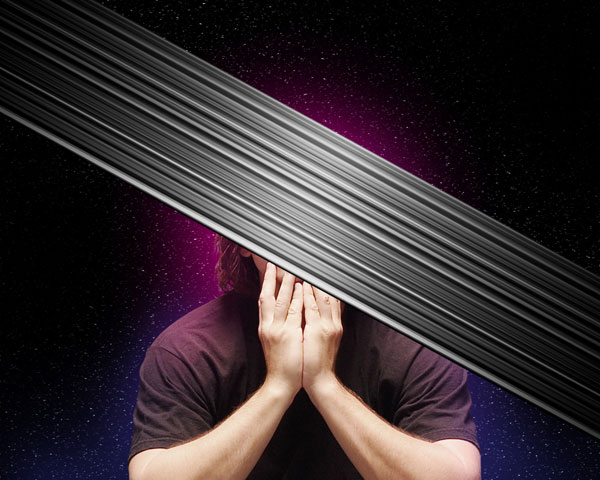
Insert the waves’ layer in the main document. Using the Free Transform (Ctrl+T) command, we can change the size and incline the layer to get the same result as below.
Set Fill to 78% for this layer and change the Blending mode to Lighten. Click on Add a layer style icon from bottom part of the Layers panel and select Inner Shadow.
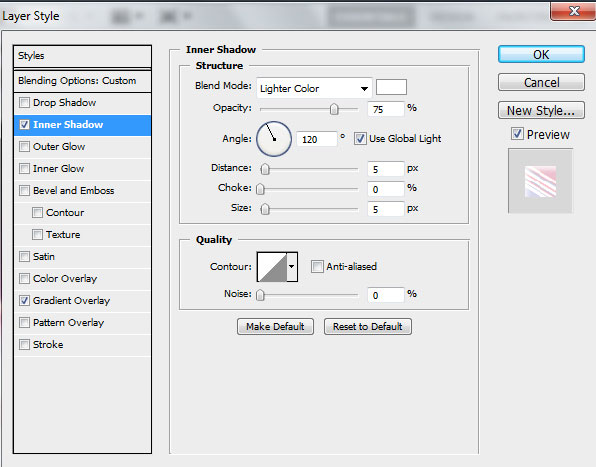
Add Gradient Overlay:
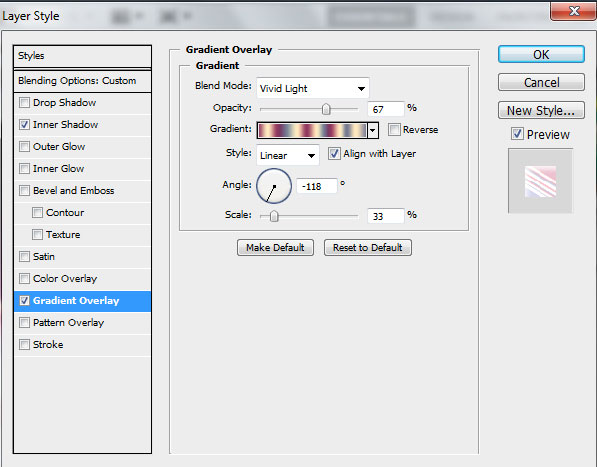
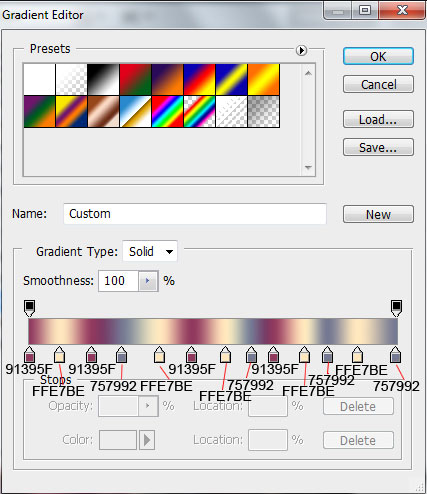
Click in the color bar to open the Gradient Editor and set the color stops as shown. Click OK to close the Gradient Editor dialog box.
We’ve got the next effect:
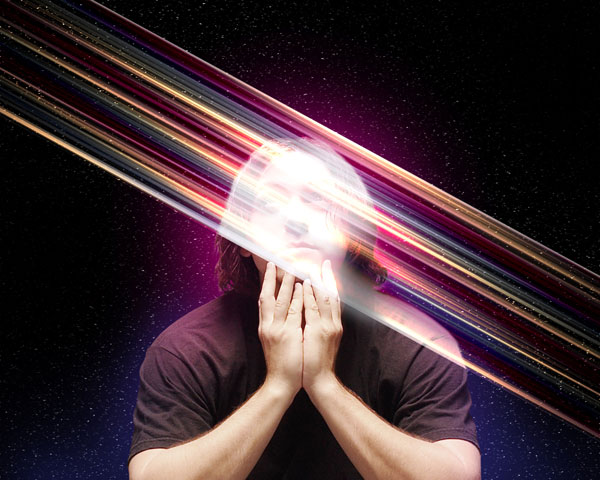
Click on the same layer now on the bottom part of the Layers panel on Add layer mask icon and choose the Hard Mechanical brush of black color (set Opacity to 80% in the Options bar).

Use this brush to paint in the mask to hide the waves’ layer on the man’s head and on his shoulder.

Make a copy of the last made layer and apply the Free Transform (Ctrl+T) command to turn over the copy’s layer, creating a small displace. Insert also the mask on the copy’s layer and choose the Hard Mechanical brush to hide the waves passing on the man’s head and shoulder. Set Fill to 100% for this layer and change the Blending mode to Lighter Color.

Next on the new layer we’ll select the Hard Mechanical brush.
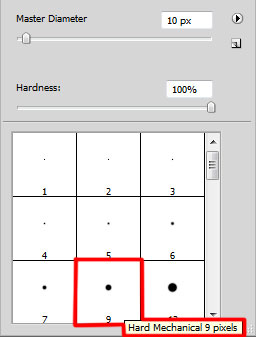
Use this brush to add more small dots of white color.

Set the Blending mode to Hard Mix for this layer and click on Add a layer style icon from bottom part of the Layers panel and select Outer Glow.
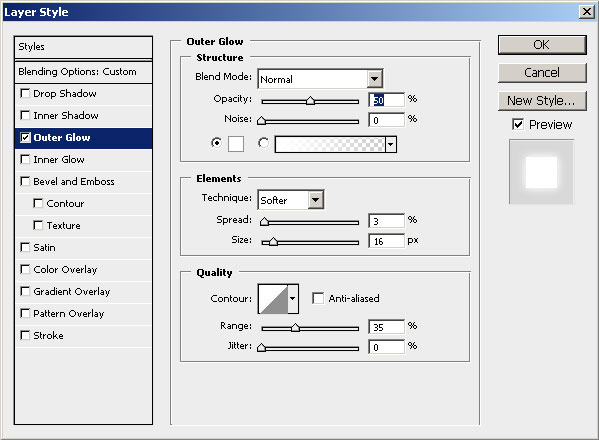
We’ve got the next result:

Make a copy of the last made layer and change the Blending mode to Linear Light for this layer.

Create a new layer and use this time for it the Paint Bucket Tool (G) to fill the layer with orange color.

Set Fill to 16% for this layer in Layers panel and change the Blending mode to Color Dodge.

Finished!

We’ve got the next result:

Set the Blending mode to Linear Dodge for this layer.

Let’s create a clipping mask to make the content of the layer containing the noise only visible within the layer containing the black background around man. Hold down Alt (Windows) or Option (Mac OS) and click between layers in the Layers panel.

We’ve got the next result:

Make a copy of the last made layer and use the Free Transform (Ctrl+T) command to put the copy’s layer the same way demonstrated below:

Create a new layer and select the Soft Round brush of black color (Opacity 20%).

Use this brush to make darker the shown zones on the next picture.

Create a new document (Ctrl+N) in Adobe Photoshop CS5 with the size 1280px by 1200px (RGB color mode) at a resolution of 72 pixels/inch. Take the Gradient Tool (G) and open the Gradient Editor from Options Bar. Choose the Black, White gradient and apply the gradient from the top to down.

Apply now on this layer Filter>Distort>Wave.

We’ve got the next result:

Use Free Transform (Ctrl+T) command to scale by dragging the got waves to have the same result as on the next picture:

Make a copy of the made layer and choose the Free Transform (Ctrl+T) command to flip vertical this layer. Insert the mask on the copy’s layer by selecting the Add layer mask on the bottom part of the Layers panel.

Select the Soft Round brush of black color.

Use this brush to paint in the mask the bottom part of the copy’s layer. Put together both layers by selecting them firstly in the Layers panel and then press CTRL+E to Merge Down.

Insert the waves’ layer in the main document. Using the Free Transform (Ctrl+T) command, we can change the size and incline the layer to get the same result as below.

Set Fill to 78% for this layer and change the Blending mode to Lighten. Click on Add a layer style icon from bottom part of the Layers panel and select Inner Shadow.

Add Gradient Overlay:

Click in the color bar to open the Gradient Editor and set the color stops as shown. Click OK to close the Gradient Editor dialog box.

We’ve got the next effect:

Click on the same layer now on the bottom part of the Layers panel on Add layer mask icon and choose the Hard Mechanical brush of black color (set Opacity to 80% in the Options bar).

Use this brush to paint in the mask to hide the waves’ layer on the man’s head and on his shoulder.

Make a copy of the last made layer and apply the Free Transform (Ctrl+T) command to turn over the copy’s layer, creating a small displace. Insert also the mask on the copy’s layer and choose the Hard Mechanical brush to hide the waves passing on the man’s head and shoulder. Set Fill to 100% for this layer and change the Blending mode to Lighter Color.

Next on the new layer we’ll select the Hard Mechanical brush.

Use this brush to add more small dots of white color.

Set the Blending mode to Hard Mix for this layer and click on Add a layer style icon from bottom part of the Layers panel and select Outer Glow.

We’ve got the next result:

Make a copy of the last made layer and change the Blending mode to Linear Light for this layer.

Create a new layer and use this time for it the Paint Bucket Tool (G) to fill the layer with orange color.

Set Fill to 16% for this layer in Layers panel and change the Blending mode to Color Dodge.

Finished!
Son düzenleme:


